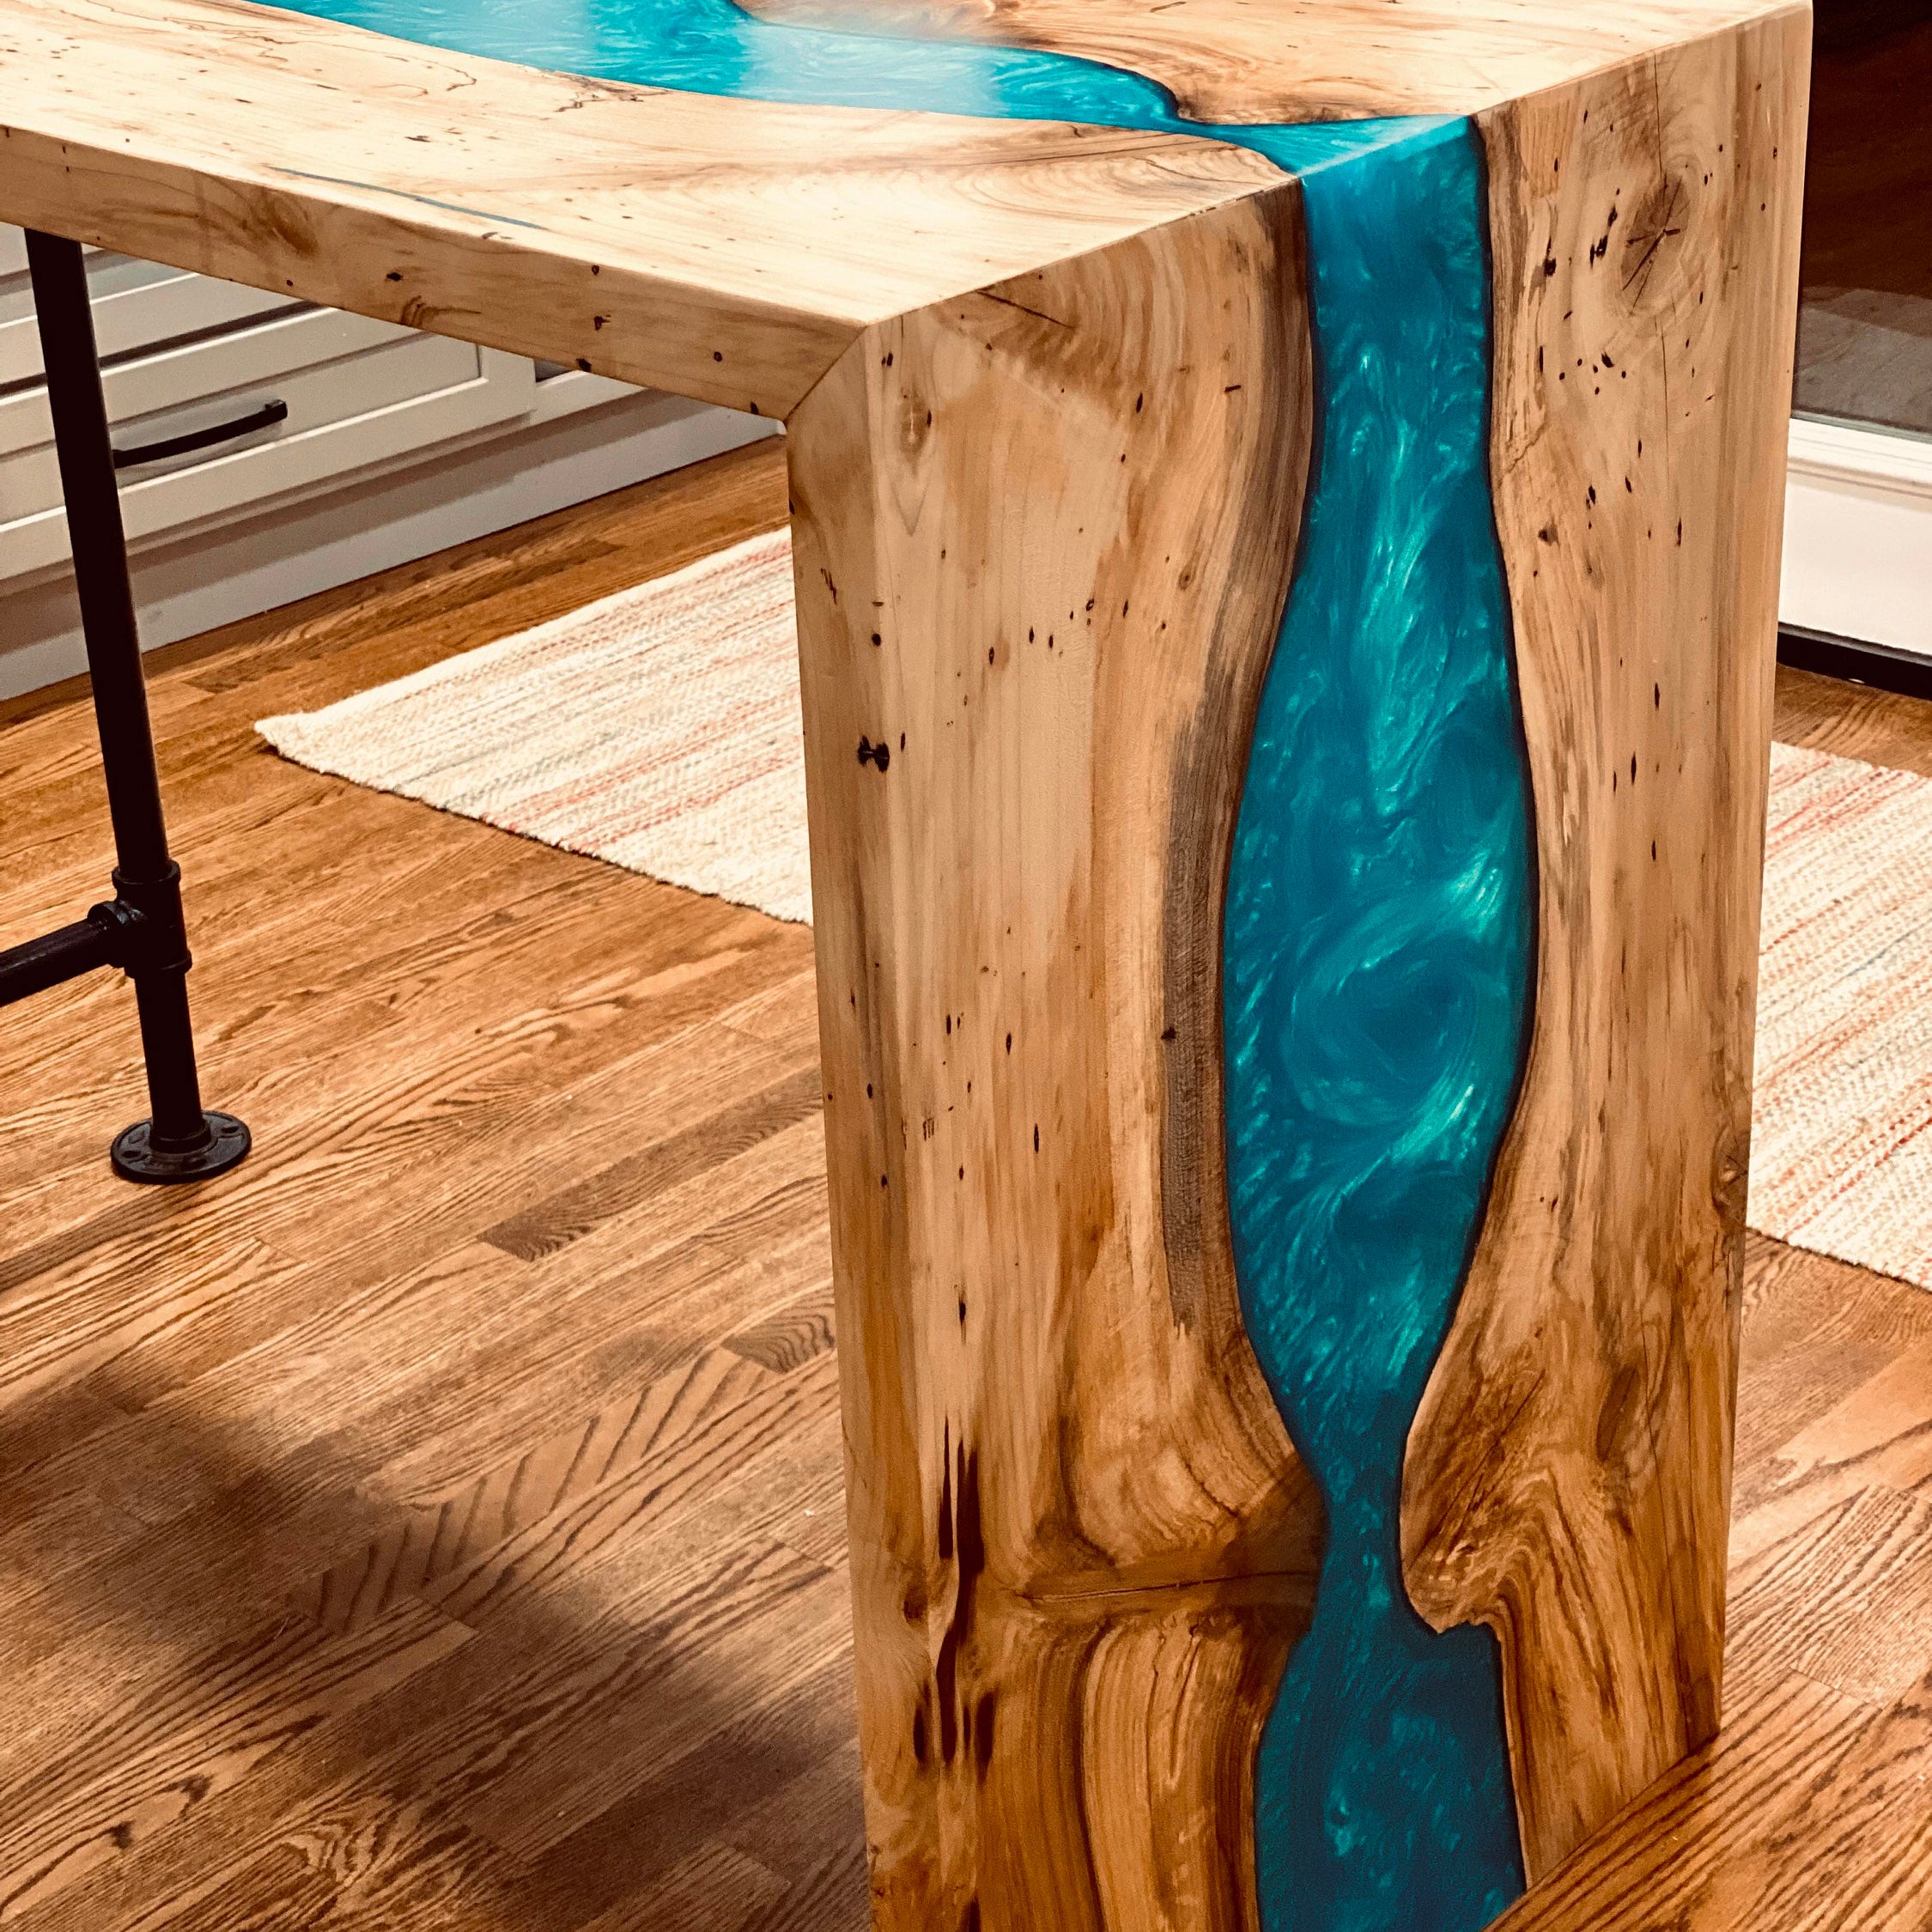
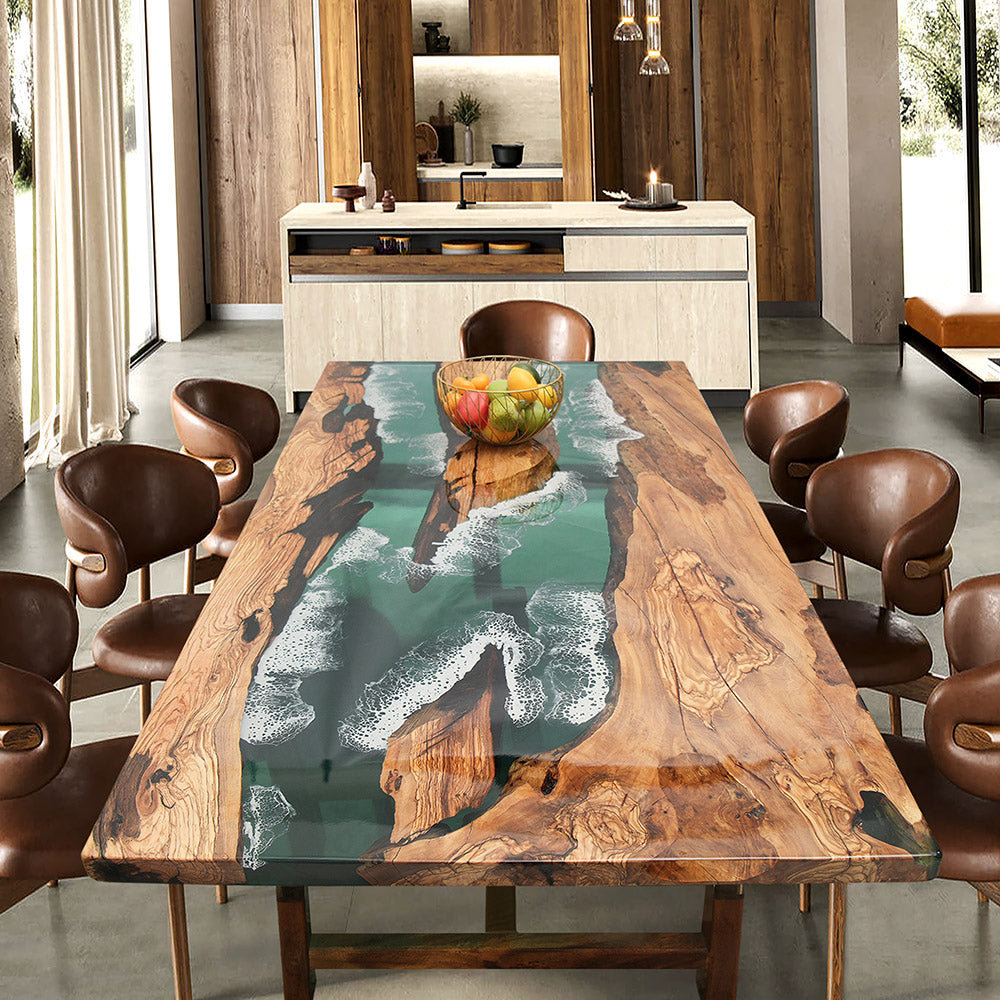
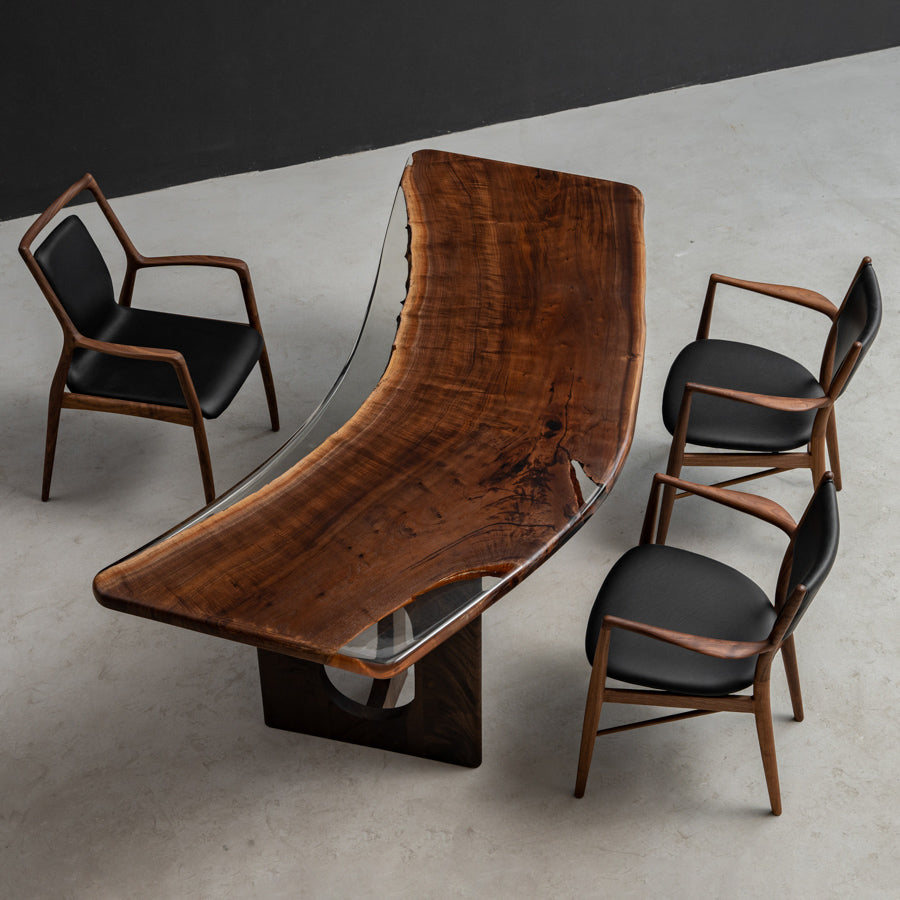
In the field of home decoration, epoxy resin tables are highly sought after for their unique appearance and diverse designs. They combine the beauty of nature with the exquisite craftsmanship of modern technology, becoming an eye-catching focal point in the home space. Today, I will share with you the whole process of making a custom epoxy resin table, so that you can understand how to create a stunning work of art through a series of careful design and craftsmanship steps.
Step one: Determine the design concept
Before making a resin table, you must first determine the design concept. You can choose to copy an existing design, or you can be creative and discuss any details and design options you want with our design team to create a unique piece. Consider factors such as tabletop shape, size, color and texture. We will draw out the design through CAD.
Step 2: Material preparation
Making a resin table requires preparing various materials, including wood boards, resin, pigments, fillers (such as pearlescent powder, etc.), molds, glue, sealants, etc. Make sure to choose high-quality wood and materials to ensure the beauty and durability of the final product.
You only need to be responsible for selecting the type and style of wood you like, determining the desired resin color and transparency and other details, and we will make it according to the design plan.
During this period we will process the confirmed wood in great detail. We will clean the wood to remove excess impurities and the wood will be smoother as a result. After cutting natural wood, in order to make the effect better, the edges are usually blackened and painted with paint or epoxy resin (preferably with epoxy resin). This can reduce the generation of bubbles and is more effective. Isolate bacteria and dust.


Step 3: Make the mold
The shape of the resin table is usually determined by the mold, so making the mold is crucial. According to the design concept, a suitable mold is made, which can be made of wood, silicone or other materials. Make sure the mold surface is smooth to avoid imperfections when injecting resin.
Step 4: Inject resin and cure
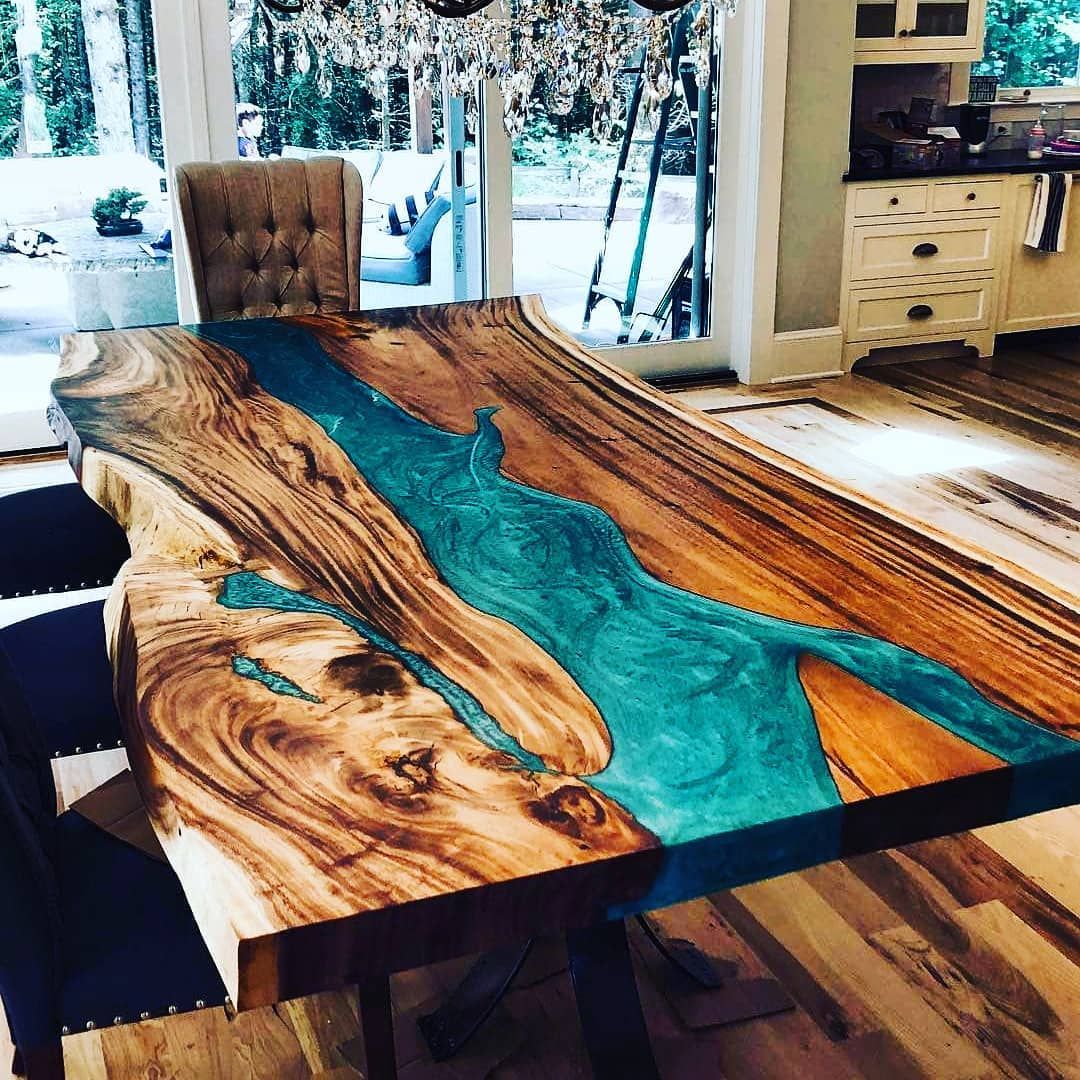
We adjust the resin to the color you want (you can refer to Panton), stir the resin, and then use a vacuum machine to force the small bubbles out of the resin (this process takes about 30-60 minutes). When ready, start injecting the resin. Depending on your customization and design needs, add pigments or fillers to the resin to get the desired color and texture (or a little something memorable). Control the speed and thickness of injection to ensure even resin distribution and avoid bubbles. The resin needs to be poured in layers, usually 3-5 layers. If it is a table with a wave effect, the resin needs to be poured in more layers. We just need to be patient and wait for each layer of resin to set. Cure time depends on the type and thickness of resin used.

Step 5: Demolding and Trimming
Once the resin has cured, it is removed from the mold and trimmed. Refinishing includes steps such as trimming edges, sanding the surface, and applying sealant to make the tabletop smooth and durable.
When sanding, first smooth out the excess wood, then paint after smoothing. We will repeat this process about 5-6 times. Every fine polishing is for a higher quality finished product. The last process must be carried out in a dust-free workshop to ensure the quality of spray painting and the effect of the finished product. During this period, we will inspect the solidified table, and the areas that need repair will be repaired or filled during repeated polishing to ensure the quality of our products.

Step Six: Retouch and Care
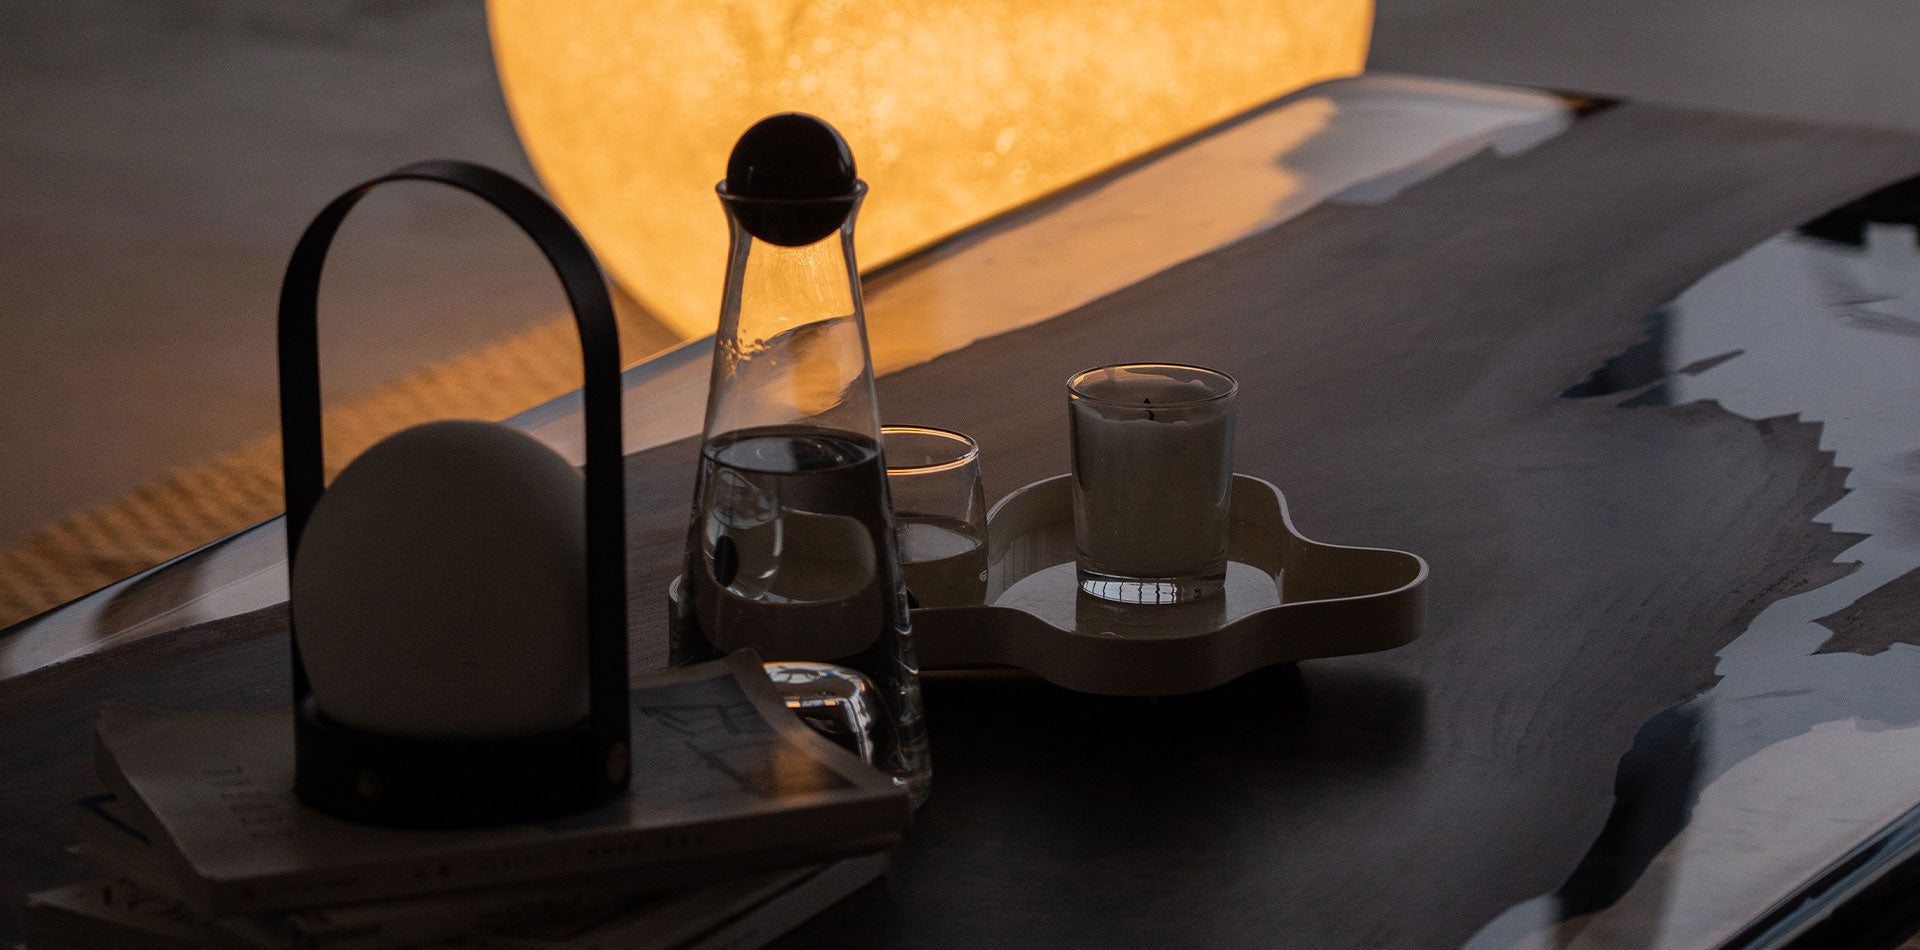
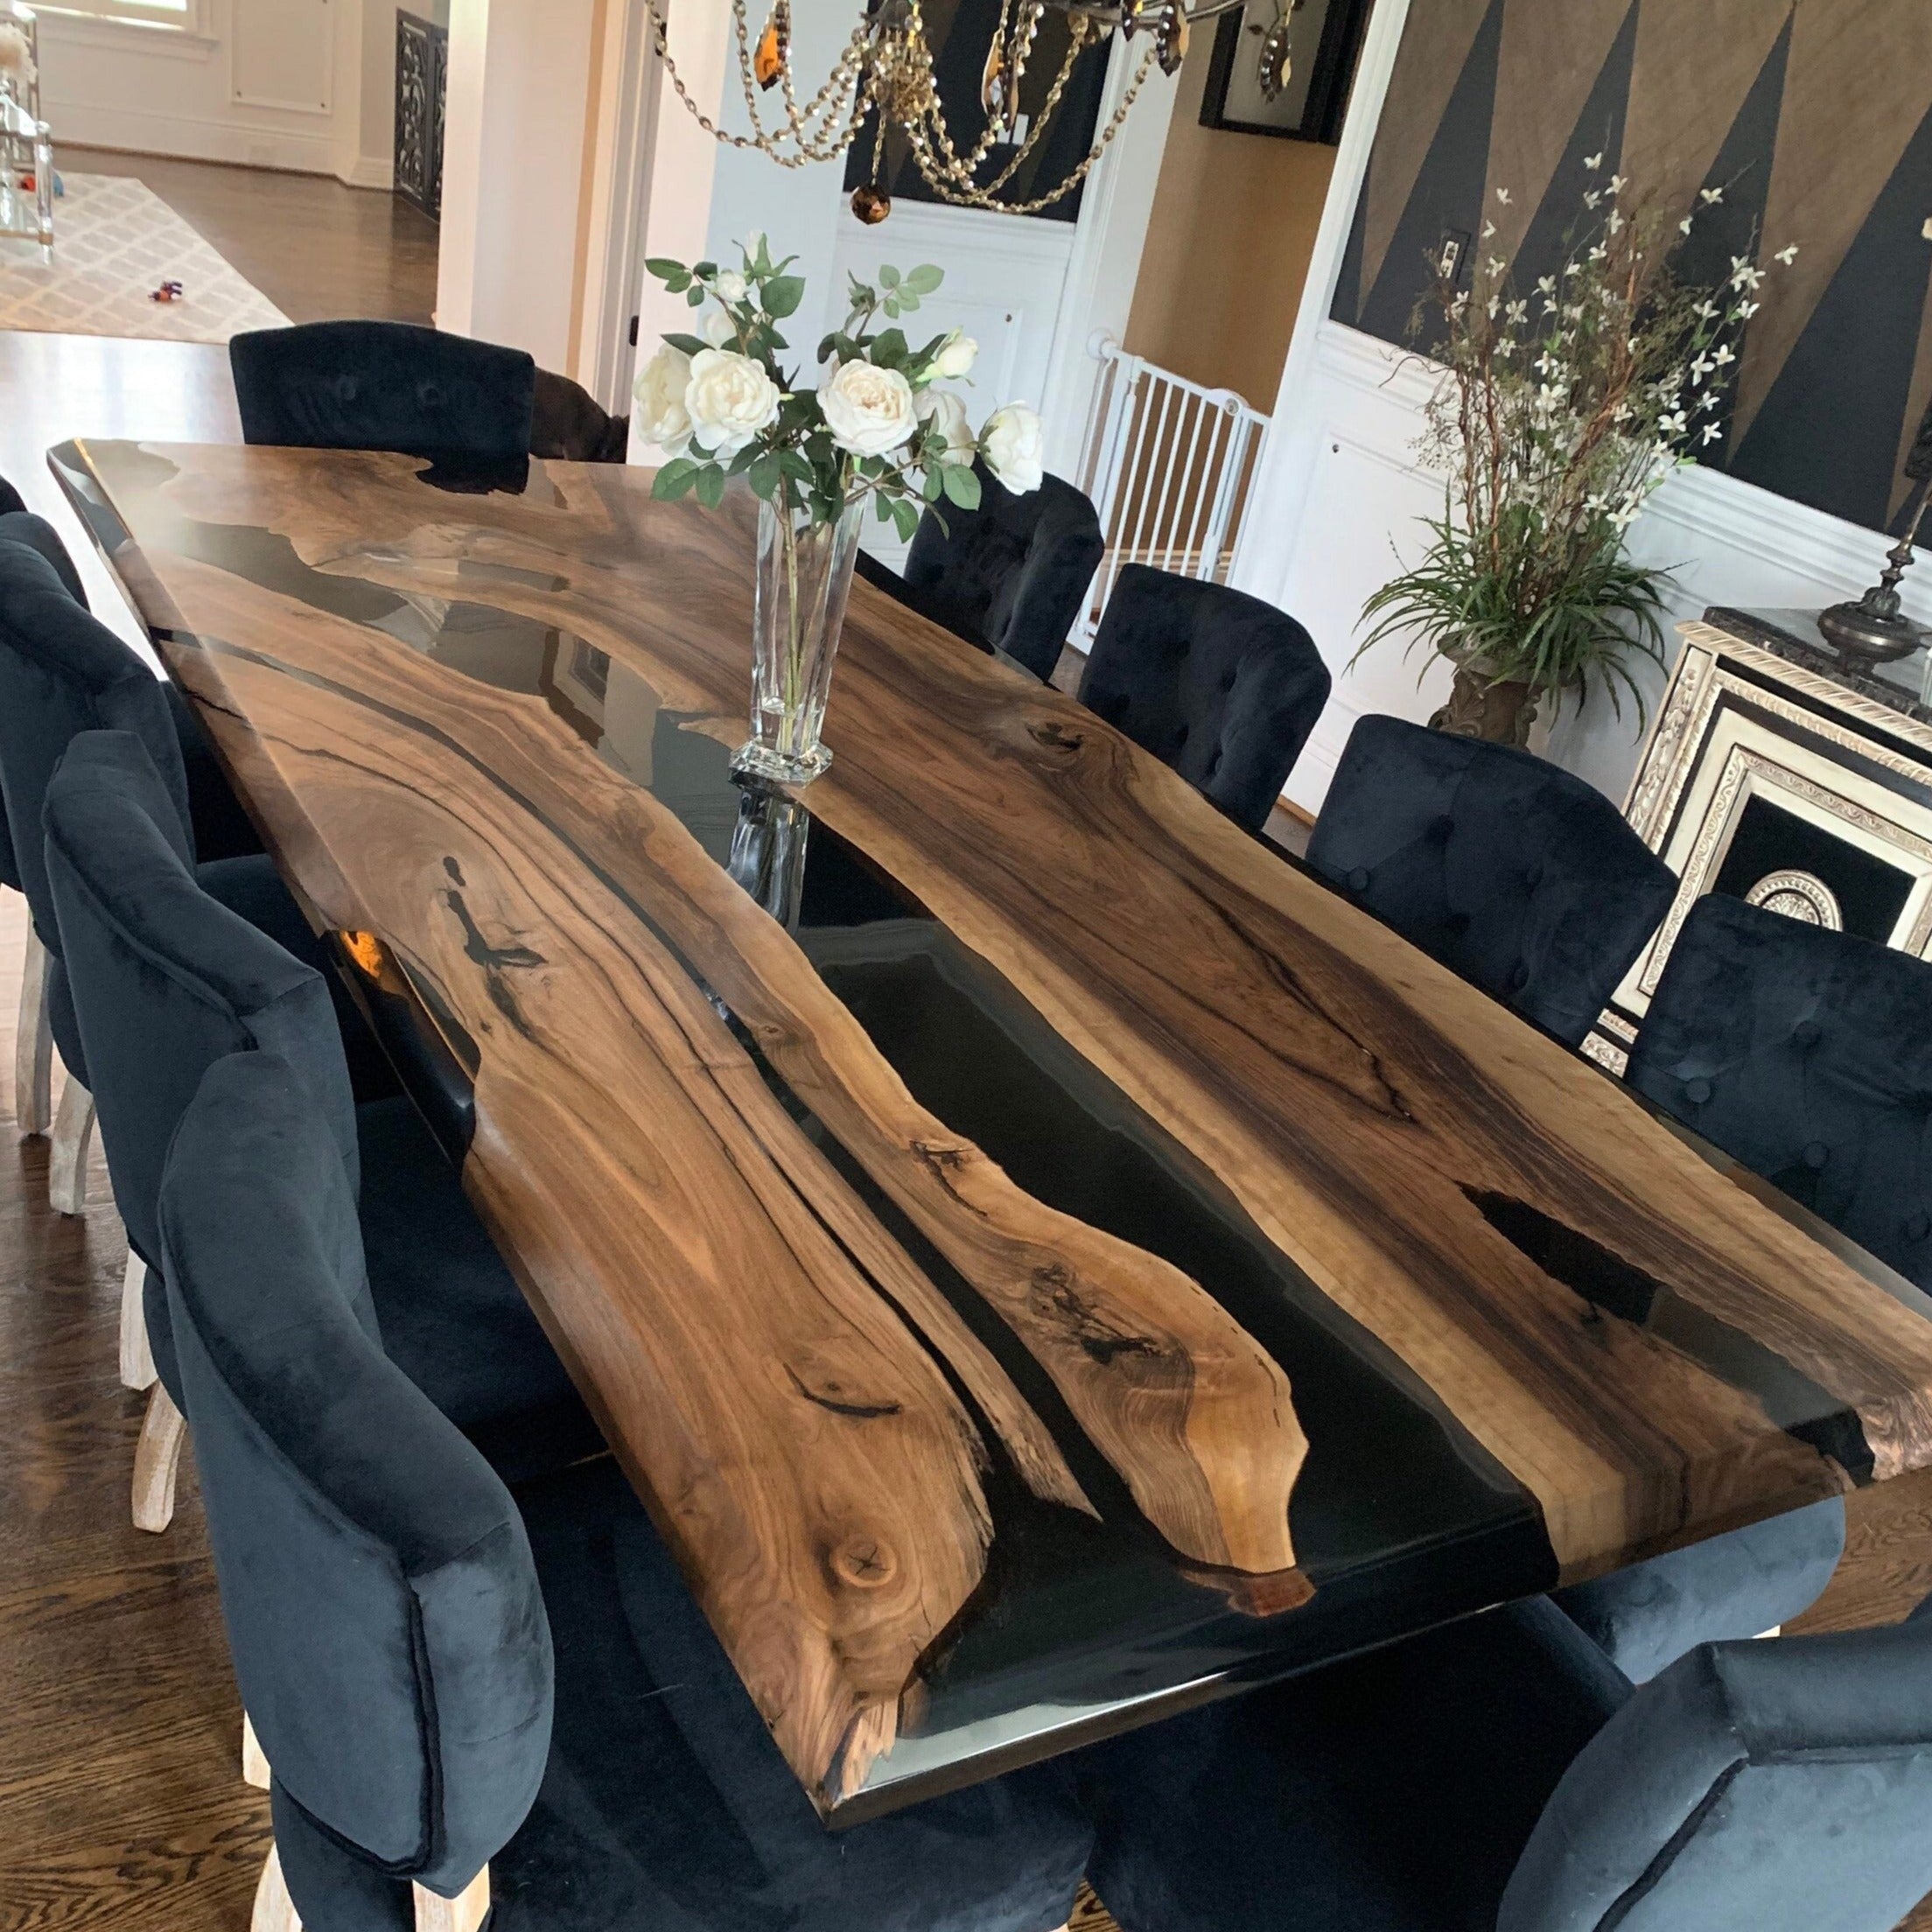
The final step is to touch up and maintain the resin table. You can add decorative touches such as metal legs, glass panels, etc. to make the table more distinctive according to your personal preference. Regular cleaning and maintenance of your resin table will extend its life and maintain its appearance and shine.
Through the above steps, your eye-catching resin table is born. Congratulations, we have completed the production together. I believe it will add unique artistic charm to your home space. Whether used as a dining table, coffee table or decorative piece, a resin table can be the focal point of a home's décor and keep people coming back for more.